You do not need a week of tweaking sliders to make your game look good.
If your lig hting currently looks flat or muddy in Unity’s Universal Render Pipeline (URP), this checklist will quickly get you to “actually pretty nice.” This is not a full masterclass; it is a fast routine you can run on every new scene.
Assumptions:
You are already using URP.
You know the basics of the Unity editor.
You want practical, repeatable steps, not just theory.
0. Before You Start
Make sure your project and URP settings are in a good state before you even touch lights.
0A) Confirm the render pipeline
Go to Edit → Project Settings → Graphics and make sure a URP Asset is assigned as the Scriptable Render Pipeline. Without that, none of the URP features you expect will work correctly.
0B) Color space and HDR
Go to Edit → Project Settings → Player → Other Settings and set Color Space to Linear. This gives better results for realistic lighting and post-processing. Then open your URP Asset and make sure HDR is enabled so bright highlights and bloom behave properly.
0C) Camera post-processing
Select your Main Camera and, under Rendering, enable Post Processing. This lets your camera actually use the global post-processing effects you will set up later.
1. Set the Overall Mood: Sky, Ambient, Exposure
This step defines the general feel of your scene: time of day, brightness, and mood.
1A) Choose a sky that supports your lighting
Open Window → Rendering → Lighting → Environment. Assign an HDRI skybox or a decent sky material as the Skybox. Pick a sky that matches your mood: a warm sunset, a cold overcast day, a bright midday sky, or a starry night. If you use Skybox as the Environment Lighting source, the sky will drive both the background and the ambient light.
1B) Ambient lighting
In the same Environment window, set the Environment Lighting Source to Skybox. Start with the Environment Intensity Multiplier at around 1.0 and adjust from there. If the scene is too dark and noisy, raise the value slightly. If the scene looks washed out and flat, lower it to something like 0.6–0.8 until you see more depth.
1C) Add a global Volume for exposure and tonemapping
In the Hierarchy, right-click and choose Volume → Global Volume. Add a new Volume Profile. In that profile, add overrides such as Color Adjustments, Tonemapping, and Bloom, and optionally Vignette, Depth of Field, or Lift Gamma Gain.
Set Tonemapping to ACES or Neutral to get a more filmic response. Use Color Adjustments → Post Exposure to brighten or darken the entire scene until it feels balanced.
2. Nail Your Key Light (Directional Sun)
Most of the magic comes from your main directional light, which usually acts as your sun.
2A) Pick a direction that creates shape
Select your Directional Light and rotate it so the light comes from an angle, not straight from above. Angles roughly between 25 and 60 degrees often create pleasing shadows and depth. Think like a photographer: you want visible shapes and silhouettes, not the flat look of a midday sun directly overhead.
2B) Set color and intensity
Give the directional light a color that matches the time of day. Daylight can be slightly warm, with a small push toward yellow or orange rather than pure white. Overcast light is more neutral or slightly cool. Night lighting often uses a desaturated blue or teal with very low intensity.
Set the intensity to a sensible starting point. If you are using physical units such as lux, start with realistic sunlight values and adjust with exposure. If you use the default intensity slider, start around 1.0–1.5 and refine using Post Exposure and Tonemapping.
2C) Shadows that look solid
In the Directional Light settings, enable shadows, preferably Soft Shadows. Choose a Shadow Resolution that matches your target platform: higher for PC and console, lower for mobile.
In your URP Asset, increase Shadow Distance so your main geometry receives shadows across the play area. Set the number of shadow cascades (for example, 2–4) so shadows fade smoothly into the distance.
3. Global Illumination, Lightmaps, and Probes
Global Illumination (GI) gives you believable bounced light and helps connect your scene visually.
3A) Choose baked, mixed, or real-time
For static environments such as buildings, rocks, and non-moving props, use Baked or Mixed lights. This gives richer indirect lighting and better performance than fully real-time lighting. Unity’s GI system uses lightmaps for static geometry, light probes for dynamic objects, and reflection probes for reflections on shiny surfaces.
Open Window → Rendering → Lighting → Baked Global Illumination. Enable Baked Global Illumination and choose a Progressive lightmapper (CPU or GPU). When you have your rough lighting set up, press Generate Lighting to bake.
3B) Place Light Probes for dynamic objects
For characters and moving objects, create a Light Probe Group from GameObject → Light → Light Probe Group. Place a grid of probes in areas where characters move, along walkable surfaces, paths, and near walls and corners. If you have multi-level spaces, add vertical layers so probes cover stairs, platforms, and balconies. Light probes let dynamic objects receive bounced lighting that matches the environment without expensive real-time GI.
3C) Add Reflection Probes
Create Reflection Probes from GameObject → Light → Reflection Probe. Place them in rooms, corridors, large open areas, and in places that contain many shiny materials such as glass floors, cars, polished metals, or water. Bake these reflection probes so reflective and glossy surfaces show meaningful reflections instead of only the default skybox.
4. Local Lights: Key, Fill, Rim
Once the world lighting works, focus on the subject: the hero character, important props, or key areas of the scene.
4A) The classic three-point setup
4A1) Key light
Use a spot or point light placed to one side of your subject. Give it a slightly warm color and let it cast soft shadows. This is usually the strongest of the three lights and defines the main direction.
4A2) Fill light
Place a weaker light on the opposite side of the subject with a more neutral or slightly cooler color. Often you can disable shadows on the fill light to save performance and keep the lighting clean. Its job is to soften harsh shadows, not erase them.
4A3) Rim light
Add a back light that grazes the edges of your subject, creating a rim or outline on shoulders, head, or the object’s silhouette. A slightly cool color works well if your key light is warm. Use a narrow spot angle and modest intensity so the edge highlight is subtle and controlled, not a glowing halo.
4B) Do not overdo the number of lights
URP forward rendering has limits on how many additional lights can efficiently affect each object. Keep the number of local lights overlapping the same area under control. Rely on contrast, clever placement, and light cookies rather than dozens of overlapping lights.
5. Materials and Albedo Sanity Check
Lighting cannot fix broken materials, so do a quick material pass.
5A) Albedo brightness
Avoid pure black and pure white in albedo textures. Most real-world surfaces live in a mid-range, not at the extremes. If your albedo values are too bright or too dark, your scene will look either washed out or crushed no matter how good the lighting is.
5B) Metallic
Set metallic values logically. Real metals should be close to 1 on the metallic slider, while non-metals such as wood, plastic, stone, cloth, and skin should be near 0. Use intermediate values only when you truly need them for special materials.
5C) Smoothness and the “plastic” problem
Use higher smoothness for polished surfaces such as glass, polished metal, or glossy tiles. Use lower smoothness for rough materials such as concrete, brick, or fabric. If everything looks like plastic, reduce smoothness on your non-metal materials and make sure reflection probes are baked and positioned sensibly.
6. Depth and Atmosphere: Fog and Contrast
Depth cues sell scale and atmosphere and prevent the scene from looking flat.
6A) Enable fog
Open Window → Rendering → Lighting → Environment and enable Fog. Pick a fog color that matches the environment. Outdoor scenes usually use a color similar to the skybox, maybe slightly brighter. Indoor scenes use whatever color the air would have in that space, such as warm dusty tones or cool blue.
Adjust the Start distance so near objects remain crisp and the End distance so distant objects fade gently into fog instead of popping abruptly.
6B) Fake “god rays”
If you want light shafts or “god rays” without heavy volumetric effects, use narrow spot lights with cookies that contain gradients or strip patterns. Combine these with slightly stronger bloom so the beams soften and glow without a big performance hit.
7. Post-Processing Polish
URP’s integrated post-processing is where you add the final layer that makes the scene feel like a finished game rather than a raw render.
7A) Bloom
In your Global Volume, adjust Bloom so only the brightest areas glow. Use the Threshold to control which surfaces emit bloom and the Intensity to control how strong the glow appears. Aim for a gentle sparkle on emissive signs, screens, windows, magic or VFX, and strong highlights on metals or wet surfaces. If everything glows, lower the bloom settings.
7B) Color grading and overall balance
In Color Adjustments or a dedicated Color Grading override, slightly increase Contrast to give your image more punch. Adjust Saturation depending on your art style: increase it a little for stylized or cartoony looks, or decrease it slightly for realistic or cinematic looks. Use global tint controls such as Color Filter to push the entire scene toward a theme: warm for sunset, cool for night or sci-fi, greenish or desaturated for horror.
7C) Vignette
Add a Vignette to darken the edges of the screen a little. This keeps the player’s attention toward the center of the frame. Keep the effect subtle; a heavy vignette can feel like an artificial filter instead of an invisible aid.
7D) Depth of field
If your target platform allows it, enable Depth of Field and set the focus distance on your player character or main subject. Apply a modest blur to the background so the subject pops more. On mobile, pick more performance-friendly depth-of-field options and use conservative settings.
8. Quick Performance Pass
Beautiful lighting is only useful if the game runs well.
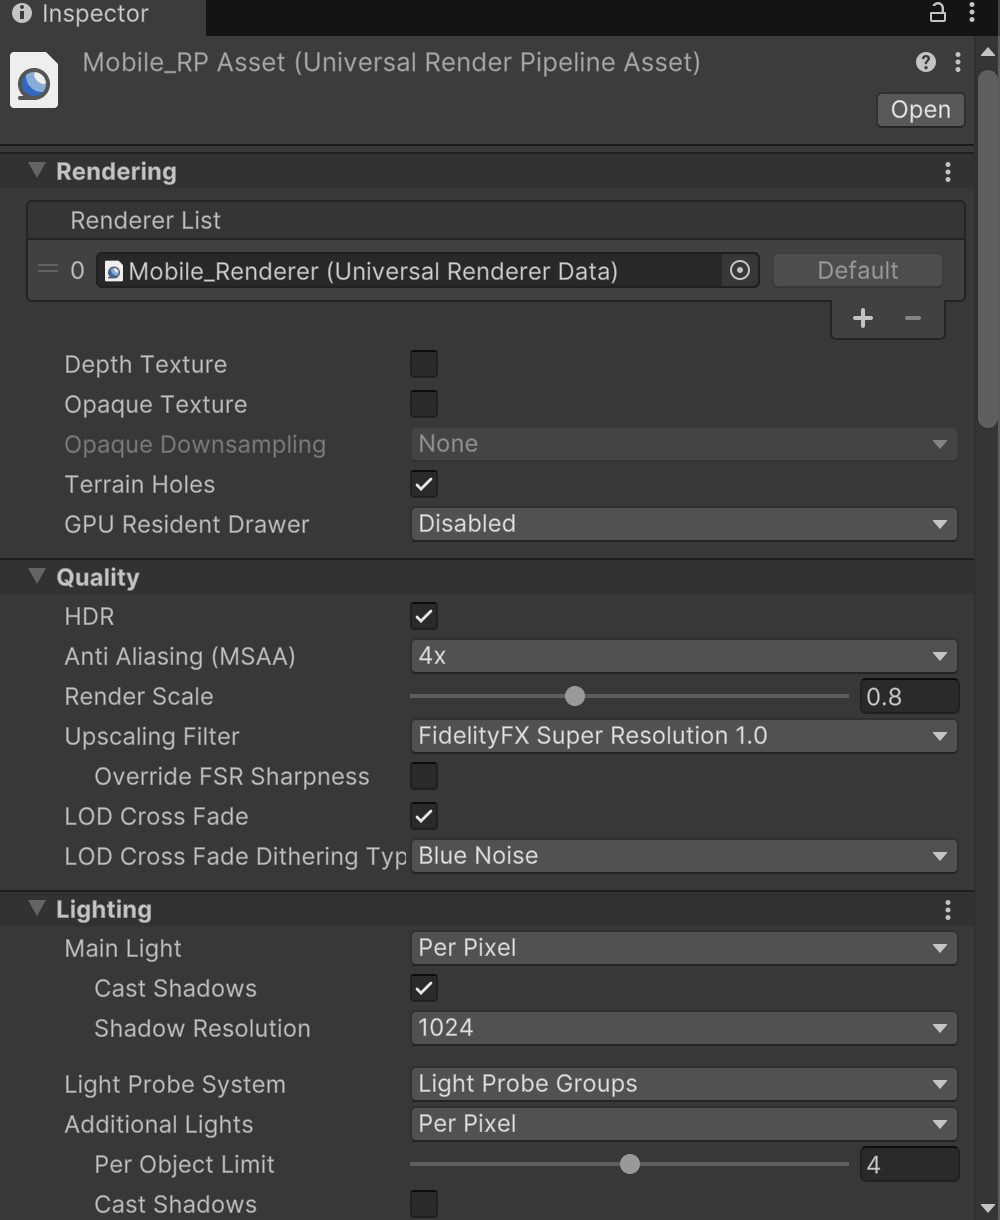
8A) URP Asset quality settings
Open your URP Asset and any quality variants. Lower shadow resolutions for lower-end platforms and reduce Additional Lights Per Object if you use many lights in a single area. On platforms that support it, consider more advanced rendering paths such as Forward+ or Deferred when you have lots of lights, depending on the URP version you are using.
8B) Post-processing budget
On mobile or low-end hardware, prioritize relatively cheap effects such as Bloom (on a low quality setting), basic Color Grading, and a light Vignette. Avoid or dial down heavy effects like high-quality Depth of Field, strong Motion Blur, or very high bloom radii and intensities. On higher-end hardware you can push things further but still aim for tastefulness rather than “everything at maximum.”
8C) Scene View debug modes
In Scene View, occasionally switch to modes such as Shaded Wireframe to spot overly dense meshes, Overdraw to find areas with too much transparency stacking, and Lighting or Shadow modes to see if your forms are clear and if there are obvious leaks or missing shadows.
9. The URP Lighting Checklist (Condensed)
Here is the whole checklist in compact form so you can paste it at the top of your level-design document or keep it as a note.
9A) Project / Base
9A1) URP Asset assigned in Graphics settings.
9A2) Color Space set to Linear and HDR enabled in the URP Asset.
9A3) Main Camera has Post Processing enabled and a Global Volume exists in the scene.
9B) Mood and Exposure
9B1) Skybox chosen to match the scene’s mood.
9B2) Environment Lighting Source set to Skybox and intensity tuned.
9B3) Tonemapping (ACES or Neutral) enabled.
9B4) Exposure adjusted via Color Adjustments (Post Exposure).
9C) Key Light
9C1) Directional light angled, not straight overhead.
9C2) Light color matches time of day (warm, neutral, or cool).
9C3) Light intensity reasonable, with soft shadows enabled.
9C4) Shadow Distance and cascades tuned in the URP Asset.
9D) GI and Probes
9D1) Baked Global Illumination enabled and lighting generated.
9D2) Light Probe Groups placed along walkable areas and key spaces.
9D3) Reflection Probes placed in rooms and shiny areas, then baked.
9E) Local Lights and Materials
9E1) Main subject lit with a Key / Fill / Rim setup.
9E2) Number of additional lights per object kept under control.
9E3) Materials use realistic albedo values, avoiding pure black or white.
9E4) Metallic and smoothness values make sense for each surface.
9F) Atmosphere and Post
9F1) Fog enabled and tuned for depth.
9F2) Bloom adds subtle highlight glow.
9F3) Color grading adds contrast and a slight mood tint.
9F4) Vignette gently darkens screen edges.
9F5) Optional Depth of Field focuses on the main subject if supported.
9G) Performance
9G1) URP quality settings and shadow resolutions matched to the target platform.
9G2) Post-processing trimmed appropriately for mobile or low-end hardware.
9G3) Quick check with debug views (wireframe, overdraw, lighting) to catch obvious issues.